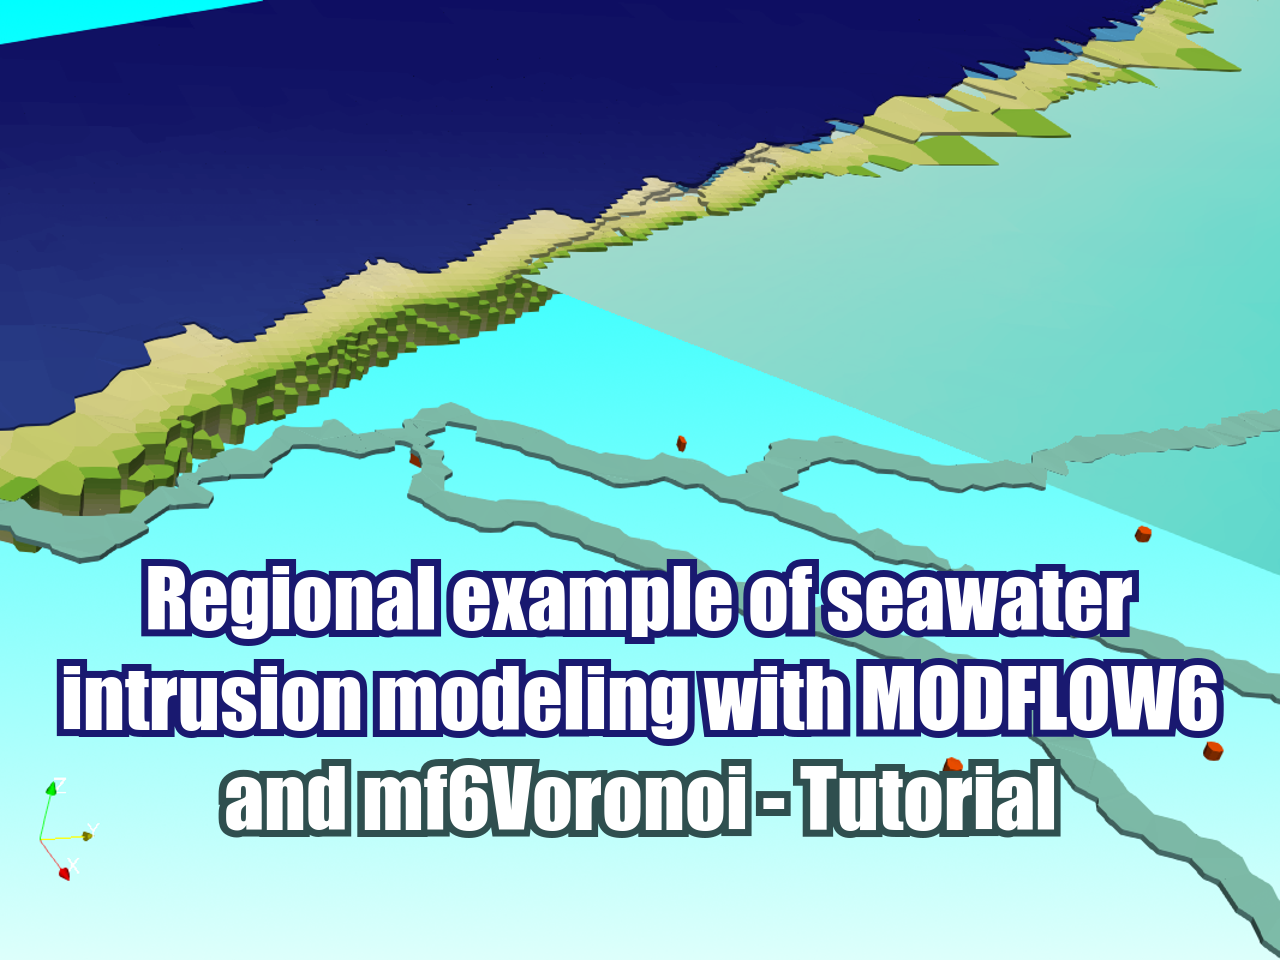
Representation of Flow Direction Vectors from a Model Muse / MODFLOW6 model with mf6Voronoi - Tutorial
/
Groundwater flow direction representation is useful to understand the actual and predicted conditions of the groundwater flow regime. The arrow direction and magnitude give a quick perspective of the main groundwater flow directions and the interconexion between sources and discharge points.
This tutorial show the complete workflow to determine flow directions from a MODFLOW model done with Model Muse with the Mf6Voronoi utility FlowVectorGenerator that represent flow direction vectors in a Matplotlib figure. The function works not only with normal Modflow6 Dis models like the generated by Model Muse but also with Voronoi based Modflow6 Disv models. There is a capability to insert background images and other functionalities, however the styling options are closed in order to preserve the artistic style of the plot.
Parameters
----------
bakgroundImageDisct : dict
    Dictionary with the shape of  pointing to the paths of the image and world file.
kstpkper :  tuple of ints
    A tuple containing the time step and stress period. Only the last time step of the stress period is plotted.
plotGrid : bool
    Option to represent heads grid for a given layer on a grid.
plotContour : bool
    Option to represent head contours for a given layer.
contourLevels : int
    Number of contours for the plotContour representation.
layer : integer
    MODFLOW zero-based layer number for the head and contour representation.
istep : integer
    Row frequency to plot (default is 4).
jstep : integer
    Row frequency to plot (default is 4).
scale: float
    Scales the length of the arrow inversely.
normalize : bool
    Boolean flag used to determine if vectors should be normalized.
Tutorial
Code
from mf6Voronoi.tools.graphs2d import FlowVectorGenerator
import flopy
C:\Users\saulm\anaconda3\Lib\site-packages\pyvista\examples\downloads.py:98: UserWarning: Unable to access C:\Users\saulm\AppData\Local\pyvista_3\pyvista_3\Cache. Manually specify the PyVistaexamples cache with the PYVISTA_USERDATA_PATH environment variable.
warnings.warn(#load simulation
simName = 'mf6Sim' ## Org
modelWs = '../Model' ## Org
sim = flopy.mf6.MFSimulation.load(sim_name=simName, version='mf6', ## Org
exe_name='bin/mf6.exe', ## Org
sim_ws=modelWs) ## Orgloading simulation...
loading simulation name file...
loading tdis package...
loading model gwf6...
loading package dis...
loading package ic...
loading package npf...
loading package oc...
loading package ghb...
loading package wel...
loading package riv...
loading package rch...
loading package evt...
loading solution package modflow...#get model name
sim.model_names['modflow']#select the model
gwf = sim.get_model('modflow')#representation with head grid
fig = FlowVectorGenerator(gwf, layer=0, plotGrid=True, scale=20)
#representation with contour grid
fig = FlowVectorGenerator(gwf, layer=0, plotGrid=False, scale=20)
#representation with contour grid with dense arrow
fig = FlowVectorGenerator(gwf, layer=0, plotGrid=False,
                          istep=2,
                          jstep=2,
                          scale=50)
#representation with background image
backgroundImageDict = {
    'fig':'../Rst/BackgroundImage.png',
    'wrl':'../Rst/BackgroundImage.pgw'
}
fig = FlowVectorGenerator(gwf,
                          backgroundImageDict = backgroundImageDict,
                          layer=0,
                          plotGrid=False,
                          istep=2,
                          jstep=2,
                          scale=50)
Input data
You can download the input data from this link.