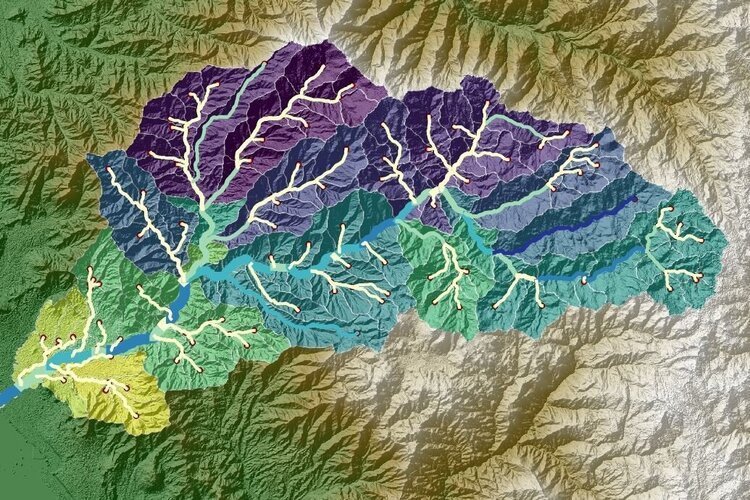
NetCDF for water resources with Python for dummies (CHIRPS dataset) - Tutorial
/NetCDF has become a popular choice for storing and delivering precipitation and water resources related data. Its capacities to store multiple geospatial raster layers over time allow another level of abstraction on data analysis, however the format is of limited use on normal desktop applications and most times we are required to use a programming language such as Python or R.
We have done an applied example of exploration analysis from a NetCDF file that has the CHIRPS dataset for year 2022. The dataset is opened with Python and Rasterio and clipped to country extent where an interactive visualization of precipitation is performed. Finally, a daily precipitation hydrograph is generated over the coordinates of a given city.
Tutorial
Code
#from osgeo import gdal
import rasterio.mask as mask
from rasterio.plot import show
import matplotlib.pyplot as plt
import geopandas as gpd
import numpy as np
import rasterio
from ipywidgets import interact, IntSlider
#open netcdf with rasterio
ds = rasterio.open('Data/chirps-v2.0.2022.days_p25.nc')#show dataset bounds
ds.boundsBoundingBox(left=-180.0, bottom=-50.0, right=180.0, top=50.0)#amount of layers
ds.count365#check if there si crs information
ds.crs#coordinates for a given cell
ds.xy(10,10)(np.float64(-177.375), np.float64(47.375))#plot band 1
show(ds.read(1))#plot the whole dataset
show(ds)#import world borders in shp format
worldBorders = gpd.read_file('Data/Shp/World_Countries.shp')
worldBorders.crs<Geographic 2D CRS: EPSG:4326>
Name: WGS 84
Axis Info [ellipsoidal]:
- Lat[north]: Geodetic latitude (degree)
- Lon[east]: Geodetic longitude (degree)
Area of Use:
- name: World.
- bounds: (-180.0, -90.0, 180.0, 90.0)
Datum: World Geodetic System 1984 ensemble
- Ellipsoid: WGS 84
- Prime Meridian: Greenwich#plot the polygons
worldBorders.plot()#indentify row for a given country
mexRow = worldBorders[worldBorders['COUNTRY']=='Mexico']
mexRow = mexRow.reset_index()
mexRow| index | COUNTRY | geometry | |
|---|---|---|---|
| 0 | 154 | Mexico | MULTIPOLYGON (((-97.77687 22.26805, -97.78168 ... |
type(mexBorder)shapely.geometry.multipolygon.MultiPolygon#clip raster to shapely
outImage, outTransform = mask.mask(ds, [mexBorder],crop=True)outImage.shape(365, 73, 128)#plot clipped image
show(outImage[10], vmin=0, vmax=outImage.max())mexBorder = mexRow.iloc[0].geometry
mexBordershapely.geometry.multipolygon.MultiPolygon
#clip raster to shapely
outImage, outTransform = mask.mask(ds, [mexBorder],crop=True)outImage.shape(365, 73, 128)#plot clipped image
show(outImage[10], vmin=0, vmax=outImage.max())<Axes: >#create an image of the inactive parts
outEmpty = np.copy(outImage[0])
outEmpty[outEmpty != -9999] = np.nan
outEmpty[outEmpty == -9999] = 1
plt.imshow(outEmpty)<matplotlib.image.AxesImage at 0x26bfa174830>outImage[outImage==-9999] = np.nan#plot an image for a given day
fig, ax = plt.subplots(figsize=(12,12))
im = ax.imshow(outImage[10], vmin=0, vmax=outImage.max(), aspect='equal', cmap='cool')
plt.colorbar(im, shrink=0.4)
plt.show()#define plotting option
from matplotlib.colors import LogNorm
def plotDay(day):
fig, ax = plt.subplots(figsize=(16,12))
mexRow.plot(ax=ax)
#im2 = plt.imshow(outEmpty, alpha=0.5, ec=None)
im = ax.imshow(outImage[day], norm=LogNorm(vmin=0.00001, vmax=np.nanmax(outImage)), aspect='equal', cmap='cool')
im2 = ax.imshow(outEmpty, cmap='terrain', alpha=0.5)
#show(outImage[day], ax=ax)
#mexBorder.plot(ax=ax)
#mexRow.plot(ax=ax)
plt.title('Year 2022 Day %s'%day)
plt.colorbar(im, shrink=0.4)
plt.show()#plot for given day
plotDay(0)#interactive plot
from ipywidgets import Layout, Textarea
interact(plotDay, day=IntSlider(min=0,max=365, step=1,value=1), layout=Layout(width='70%', height='400px'))interactive(children=(IntSlider(value=1, description='day', max=365), Output()), _dom_classes=('widget-interac…
<function __main__.plotDay(day)>#working with time serie
cdmxCoords = (-99.177254,19.432241)precipGen = ds.sample([cdmxCoords])
precipList = []
for precip in precipGen:
precipList+=list(precip)
precipList[:5][np.float32(0.0),
np.float32(0.0),
np.float32(0.0),
np.float32(0.0),
np.float32(0.0)]import pandas as pd
precipCdmx = pd.DataFrame(index=pd.date_range(start='2022-01-01', end='2022-12-31'))
precipCdmx.head()| 2022-01-01 |
|---|
| 2022-01-02 |
| 2022-01-03 |
| 2022-01-04 |
| 2022-01-05 |
precipCdmx['precip'] = precipList
precipCdmx.head()| precip | |
|---|---|
| 2022-01-01 | 0.0 |
| 2022-01-02 | 0.0 |
| 2022-01-03 | 0.0 |
| 2022-01-04 | 0.0 |
| 2022-01-05 | 0.0 |
precipCdmx.plot()<Axes: >Input data
You can download the input data from this link:
https://owncloud.hatarilabs.com/s/lr4q8CRMzvavMeG
Password to download data: Hatarilabs


